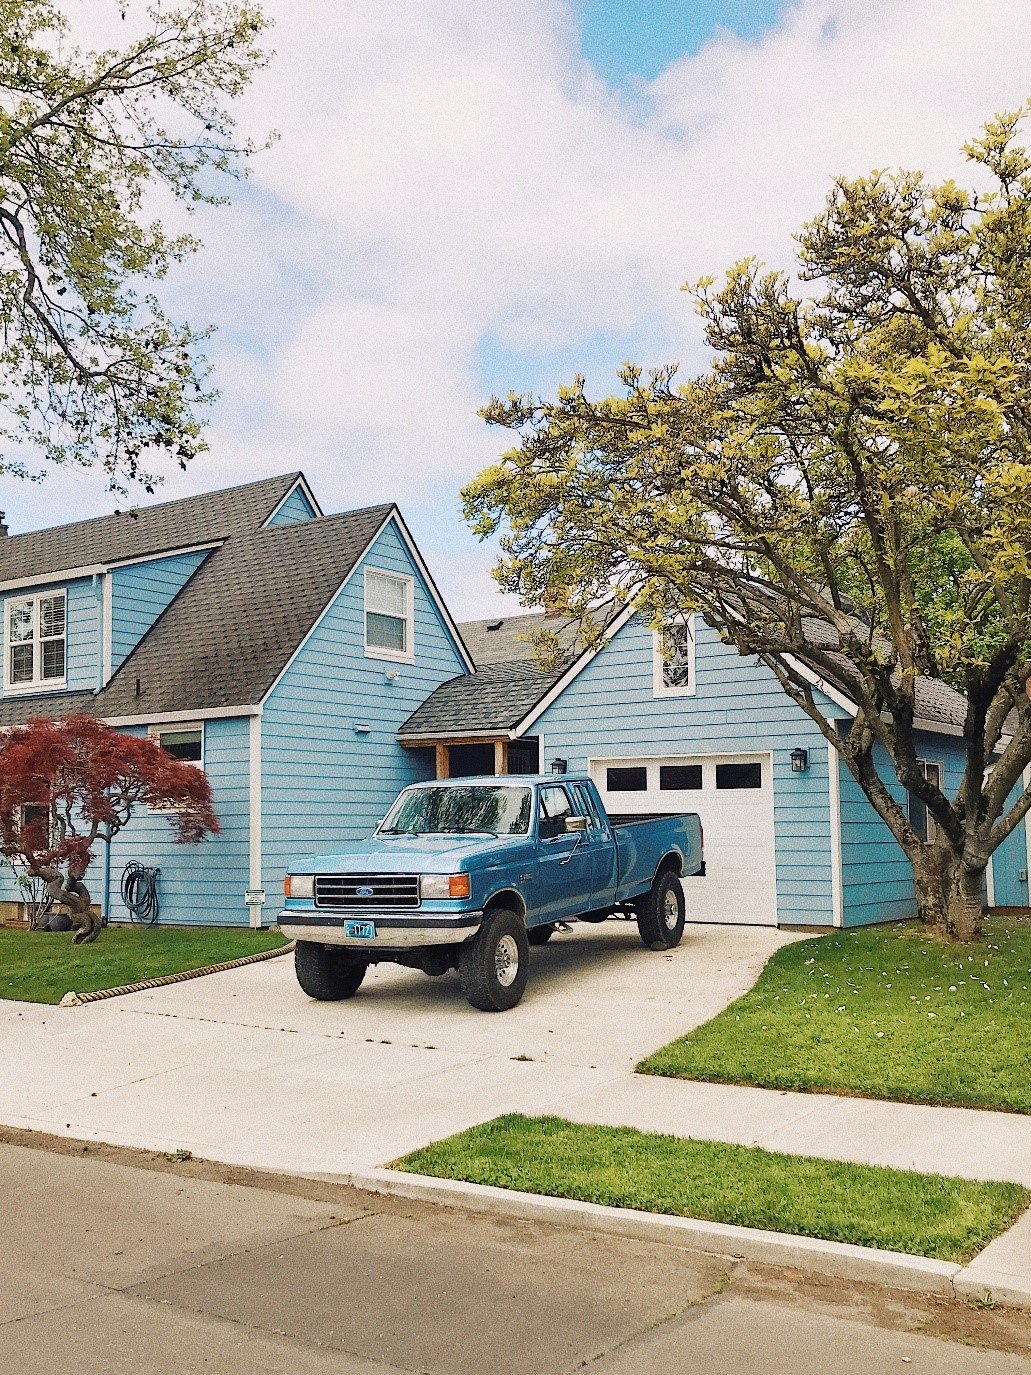
What’s the first thing people see when they drive up to your home? As much as you may want it to be your beautifully garnished front door or your carefully edged lawn, there’s a good chance that it’s your driveway. And if your driveway is dotted with unsightly oil and grease stains, their first impression won’t be great. Fortunately, you don’t have to settle for a filthy driveway. By using concrete sealer for your driveway, you can take advantage of the protection (and enhancement) it offers.
So, what are the steps to using a concrete sealer for your driveway? Read on to find out…
Step 1: Choose a Concrete Sealer for Your Driveway
The first question you’ll face as you seek to seal your driveway is what kind of sealant to use. After all, there are hundreds of different options and brands.
Should you use a film forming sealant? Or should you go with something that penetrates the surface of your concrete? Should you go with solvent-based or water-based sealer? Wet look or dry look? The choices are endless.
So, it’s a good idea to decide on what exactly you’re looking for. The finished appearance you’re hoping to achieve will determine what kind of sealant you should use. Unless they’re dealing with stamped concrete, these days most people opt for a more natural look – something matte rather than glossy – for their concrete spaces.
The safest, easiest way to achieve a sealed, natural-looking concrete is with a water-based sealant. They don’t release harmful VOCs and won’t leave a slick surface after they are applied. As a result, they are by far the safest option. In addition, they leave a finish that somewhere between gloss and nothing. So, they won’t dramatically change the look of your concrete even while providing a slight enhancement. For most people, this is what people want in a concrete sealer for their driveways. When it comes to driveways, most people want them to simply fade into the overall appearance of a home. They shouldn’t draw attention to themselves, either because of stains or a pretentious high-gloss.
Step 2: Apply Your Concrete Sealer to the Driveway
Once you have a concrete sealer that fits your needs, the next step is to apply it to your driveway. Fortunately for you, applying concrete sealant is as simple as filling an ordinary garden sprayer with sealant and spraying it evenly onto the surface of your driveway.
However, before you apply any sealant, make sure to clean your driveway thoroughly. You don’t want to seal grease, oil, or other contaminants into the face of your driveway.
Generally, you’ll need a gallon of sealant for every 250 to 300 ft of concrete. After you have put on one coat of sealant, let it dry for a couple of hours and add another. Make sure that your sealer doesn’t puddle and that there are no dry places. The coat should be consistently applied across the entire face of your driveway.
Step 3: Maintain Your Driveway
Once your driveway has been sealed, you’ll want to continue to maintain it. Clean off any stains that wind up on it with soap and water. Remove debris that lands on it. And after several years have passed, note whether water pulls on the surface or is quickly absorbed into the concrete. Once water begins to move into the face of your driveway, you’ll want to reapply your sealant.
By taking these steps, you’ll be able to enjoy the many benefits of a sealed concrete driveway. And you will be able to enjoy them for years into the future.
Are you looking for the best concrete sealer for your driveway? Try Seal ‘n Lock. Find a concrete sealer distributor near you.
